
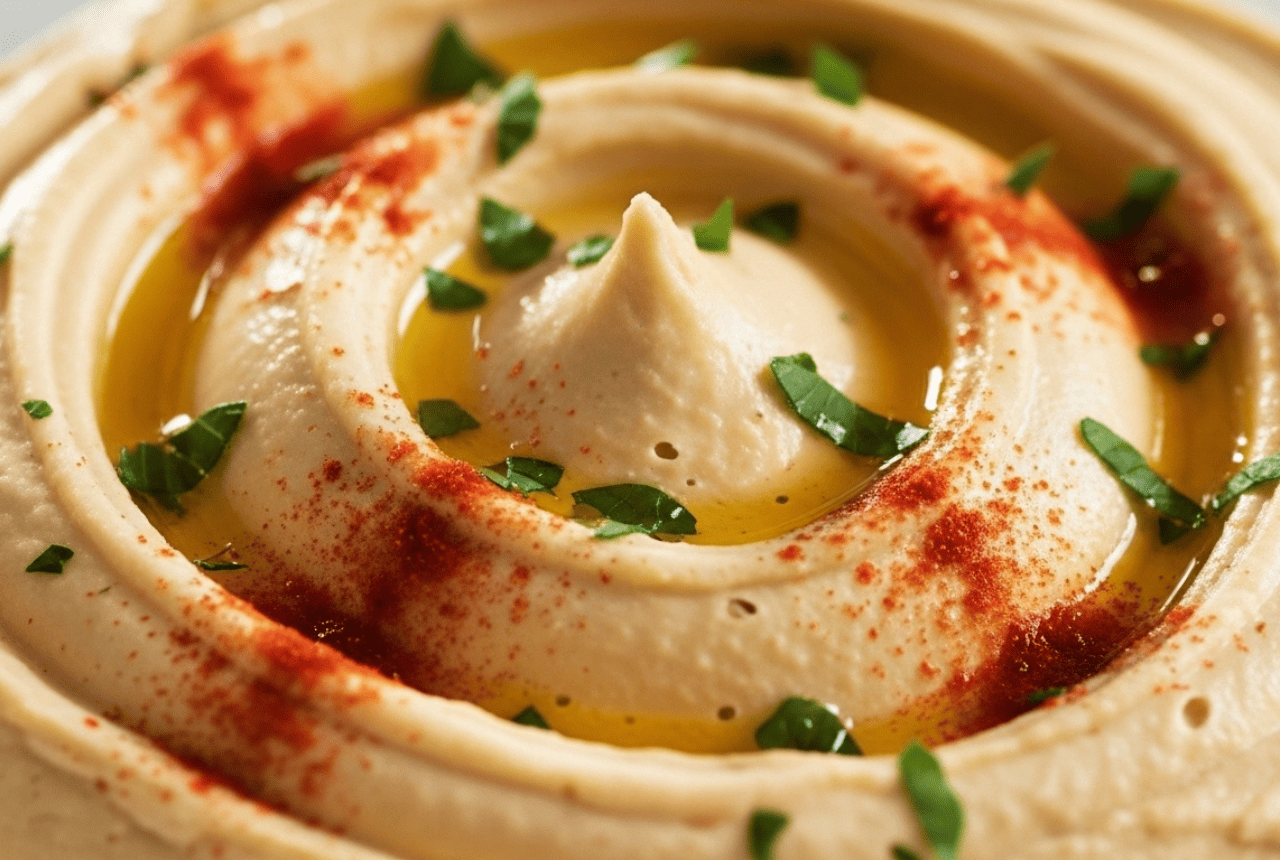
There’s something magical about homemade hummus. The way it swirls into silky ribbons, the perfect balance of nutty tahini in it and its bright lemon, that unmistakable creaminess you just can’t get from store-bought versions. If you’ve ever wondered why restaurant hummus tastes so much better than what comes in a plastic tub, you’re about to discover the secret.
This authentic hummus recipe delivers restaurant-quality results in just 10 minutes, using simple ingredients you probably already have in your pantry. The basic canned-chickpea version is ready in 10 minutes and the skin-removing step is an optional and advanced step for the smoothest result.
No special equipment needed, no complicated techniques; just pure, creamy, addictively good hummus that’ll make you wonder why you ever bought it pre-made. Plus, as a cornerstone of the Mediterranean diet, homemade hummus packs serious nutritional benefits alongside its incredible flavor.
The Best Easy and Authentic Hummus Recipe
Ingredients
Equipment
Method
- In a food processor, combine tahini and lemon juice. Process for 1 minute, scrape sides and bottom, then process for 30 seconds more. This creates the creamy base.
- Add the olive oil, minced garlic, cumin, and salt. Process for 30 seconds, scrape sides, and process another 30 seconds.
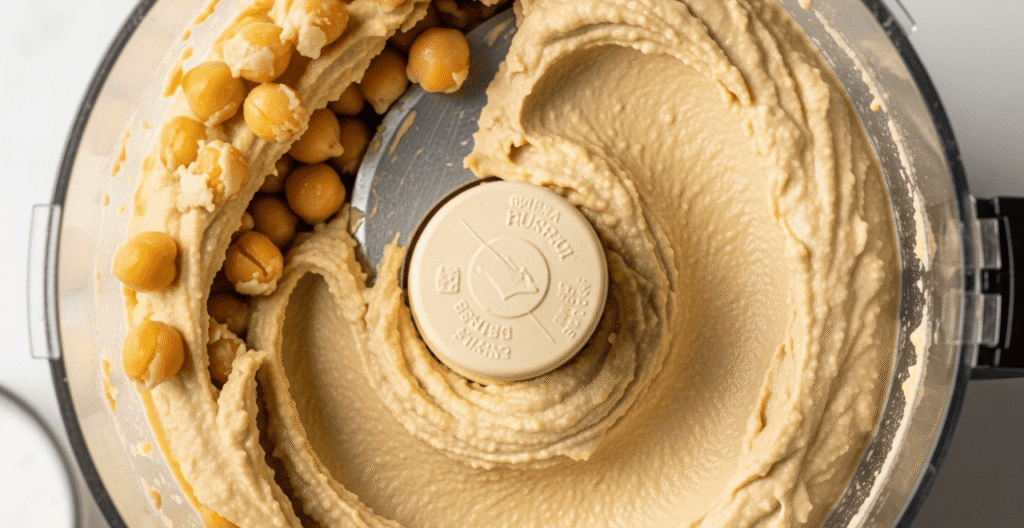
- Add half of the chickpeas and process for 1 minute. Scrape sides and bottom of bowl.
- Add remaining chickpeas and process for 1-2 minutes until thick and smooth.
- With the food processor running, slowly add 2-3 tablespoons of cold water or reserved chickpea liquid until you reach desired consistency.
- Taste and adjust seasoning, adding more salt, lemon juice, or cumin as needed.
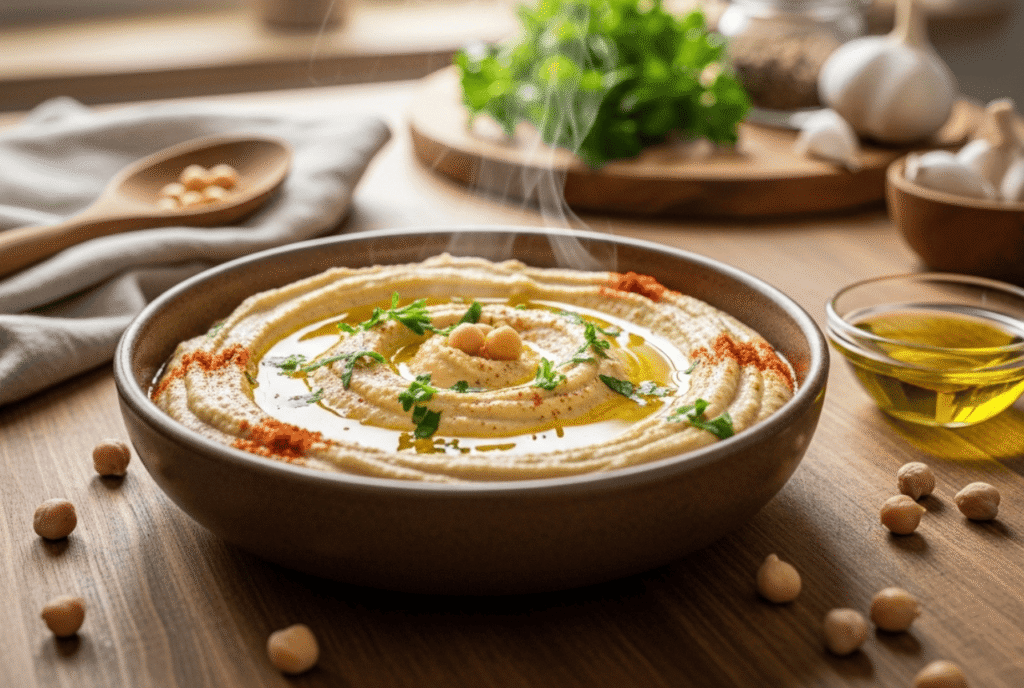
- Transfer to a serving bowl, create a well in the center, and drizzle with olive oil. Sprinkle with paprika and fresh parsley if desired.
Notes
- Peel the chickpeas before blending for ultra-smooth hummus (optional but makes a difference!)
- Reserve some chickpea liquid (aquafaba) – it’s the secret to perfect consistency
- Hummus thickens in the fridge, so you may need to stir in water before serving
The Story Behind Hummus: A Mediterranean Treasure
Hummus has been nourishing people around the Mediterranean and Middle East for centuries. Though the basic combination of chickpeas and tahini was likely enjoyed long before, but the earliest recorded recipes date back to 13th-century Egypt.
The word “hummus” comes from the Arabic word for chickpeas. Today it’s claimed as traditional by many countries including Lebanon, Palestine, Syria and Jordan. Rather than debating its “true” origin, it’s more meaningful to recognize hummus as a shared cultural treasure. A dish that has traveled across borders and brought people together for generations.
In traditional Middle Eastern cuisine, hummus is much more than a dip. It’s served as part of mezze (small plates), eaten for breakfast with warm pita or served as a main dish topped with whole chickpeas, pine nuts or spiced meat.
Making hummus at home connects you to this rich culinary tradition.
What Makes This Hummus Special
The secret to restaurant-quality hummus isn’t a fancy ingredient; it’s the technique. We process the tahini and lemon juice together first, creating an emulsion that’s the foundation of that signature creamy texture. Most recipes dump everything in at once, which leads to grainy and separated results.
This recipe also honors the authentic Middle Eastern approach: balanced flavors where no single ingredient overpowers the others. You taste chickpeas, tahini, lemon and cumin all working in harmony. That’s the mark of truly authentic hummus.
This recipe isn’t just another hummus blend. It honors the authentic Middle Eastern approach: balanced flavors where no single ingredient overpowers the others. The same method that was used in traditional Mediterranean kitchens:
1. Emulsify First
Instead of blending everything together at once, we first emulsify:
- tahini
- lemon juice
- cold water
- garlic
- salt
This forms a smooth and whipped base, which is why the final hummus becomes so airy and creamy.
2. No Chickpea Peeling Required
You don’t need to peel chickpeas by hand. Using ice-cold water and a longer final blend breaks down the skins naturally, which results in a silky texture without the extra work.
3. Restaurant-Style Creaminess
This recipe uses:
- high-quality tahini
- enough acidity
- the right blending sequence
All of which develop a hummus that is balanced, smooth, and deeply flavorful.
4. Ready in 5-10 Minutes
If you’re using canned chickpeas, this recipe comes together FAST without compromising authenticity.
5. Naturally Mediterranean-Diet Friendly Hummus
Hummus is one of Mediterranean diet Recipes. It is:
- high in plant protein
- rich in fiber
- loaded with healthy fats
- completely dairy-free and vegetarian

Ingredients You’ll Need For Best Hummus
Here’s what you need for a classic, authentic hummus recipe:
- 1 15-oz can chickpeas, drained (or 1½ cups cooked)
- ¼ cup tahini (good-quality sesame paste)
- 3 tablespoons fresh lemon juice
- 1–2 garlic cloves, smashed
- 3 tablespoons cold water (more as needed)
- 2 tablespoons extra-virgin olive oil, plus more for serving
- ½ teaspoon salt (adjust to taste)
- ½ teaspoon ground cumin (optional but recommended)
Step-by-Step Guide: How to Make Ultra-Creamy Hummus
Step 1: Create Your Creamy Base
Start by processing just tahini and lemon juice for one complete minute. When the mixture gets lighter and fluffier; that’s exactly what you want. This emulsification step is what separates good hummus from incredible hummus.
Step 2: Build Flavor
Drizzle in 2 tablespoons olive oil and blend again for 30 seconds. This stabilizes the emulsion and creates a fluffy, whipped texture. With this, you’re building flavor layers.
Step 3: Add Chickpeas Gradually
Add chickpeas in two batches. Process the first half for a full minute, then add the rest and process for 1-2 minutes until completely smooth.
Don’t rush – what looks smooth at first glance transforms into ultra-creamy hummus with another minute of processing.
Step 4: Adjust Consistency
With the processor running, drizzle in 2-3 tablespoons cold water or chickpea liquid.
Start with less and you can always add more. The hummus should be thick but pourable. As, it will thicken in the refrigerator.
Step 5: Taste and Perfect
This is your moment to customize Hummus. Add:
- More salt if it tastes flat
- More lemon juice for brightness
- More garlic for punch
- More cumin for warmth
Step 6: Serve with Style
Transfer Hummus to a shallow bowl and create a well in the center with the back of a spoon or any other suitable material . This traditional presentation holds a puddle of olive oil that gets scooped up with every bite.
Finish it with paprika and fresh parsley.
Substitution Chart For Hummus Ingredients
| Ingredient | Purpose | Best Substitute | What Changes |
|---|---|---|---|
| Tahini | Creaminess, nutty flavor | Sunflower seed butter or cashew butter | Milder, less authentic but still creamy |
| Lemon Juice | Brightness, acidity | Lime juice | Different citrus flavor, works well |
| Chickpeas | Base, protein, texture | White beans (cannellini) | Smoother, milder taste |
| Garlic (raw) | Aromatic depth | Roasted garlic (4-5 cloves) | Mellower, sweeter flavor |
| Cumin | Warm, earthy notes | Coriander or smoked paprika | Different but complementary |
| Olive Oil | Richness, mouthfeel | Avocado oil | Less fruity, similar texture |
Expert Tips for Perfect Hummus
Use Good Tahini
High-quality tahini makes or breaks the recipe.
Choose one that is smooth, not bitter, and pours easily.
Use Cold Water
Cold water helps lighten the texture, creating that whipped consistency.
Blend Long Enough
Most home hummus is grainy because it isn’t blended long enough.
A full 3–4 minutes total blending time is ideal.
Adjust Consistency Last
Hummus thickens as it sits, so aim for slightly softer than your final preference.
Recipe Variations of Hummus
1. Roasted Red Pepper Hummus
Add:
- ½ cup roasted red peppers
- 1 teaspoon smoked paprika
2. Spicy Harissa Hummus
Add:
- 1 tablespoon harissa paste
- pinch of cayenne
3. Green Herb Hummus
Add:
- ½ cup fresh parsley or cilantro
- 1–2 tablespoons olive oil
4. Lemon-Garlic Hummus
Increase lemon juice to 4 tbsp and garlic to 3 cloves.
5. Hummus Without Tahini
Replace tahini with:
- 2 tablespoons Greek yogurt
OR - 1 tablespoon olive oil + 1 tablespoon sesame oil
What to Serve With Hummus
Serve hummus with:
- warm pita bread
- fresh vegetables (carrot sticks, cucumbers and cherry tomatoes)
- falafel
- shawarma or grilled chicken
- roasted vegetables
- grain bowls
- Mediterranean mezze platters
The Health Benefits: Why Homemade Hummus is Mediterranean Diet Gold
Hummus isn’t just delicious, but also one of the healthiest dips you can make. As a staple of the Mediterranean diet (consistently ranked as one of the world’s healthiest eating patterns), hummus brings serious nutritional benefits.
Plant-Based Hummus Proteins
Each serving provides about 4g of protein from chickpeas and tahini; excellent for vegetarians, vegans or anyone incorporating more plant-based meals.
Fiber for Digestive Health
With 3g of fiber per serving, hummus supports healthy digestion and helps you feel satisfied longer.
Heart-Healthy Fats
The combination of olive oil and tahini provides monounsaturated and polyunsaturated fats that support cardiovascular health.
Rich in Vitamins and Minerals
Hummus is packed with iron (energy), magnesium (muscle and nerve function), folate (cell growth) and B vitamins.
Blood Sugar Friendly
The combination of protein, fiber and healthy fats means hummus has a low glycemic index. Which means itt won’t spike blood sugar.
By making it yourself, you control sodium content and avoid preservatives often found in store-bought versions.
Storage & Make-Ahead Instructions
- Store in an airtight container in the refrigerator for up to 5 days.
- Freeze hummus for up to 3 months (thaw overnight).
- If it thickens, stir in a splash of cold water or olive oil.
Troubleshooting
Hummus is too thick:
Add 1–2 tablespoons cold water and blend again.
Hummus tastes bland:
Add more lemon, salt, or tahini.
It’s grainy:
Blend longer and add more cold water.
Too garlicky:
Use 1 clove next time or roast the garlic first.
Frequently Asked Questions
Q: Can I make hummus without tahini?
Ans: Yes, though the flavor will be different. In that case you have to increase olive oil to 3-4 tablespoons and consider adding sunflower seed butter. Although you’ll miss that distinctive nutty flavor, but it’s still delicious. You can go through the substitution chart above for details.
Q: How long does homemade hummus last?
Ans: It can last for 5-7 days in an airtight container in the refrigerator. Don’t forget to always use clean utensils. And incase you notice any off smell, mold or color change, discard it.
Q: Why is my hummus grainy?
Ans: Not processing long enough is the most common issue. I recommend, blending it for a full 2-3 minutes after adding chickpeas. Additionally, the tahini-lemon emulsification step is also critical; don’t skip it!
Q: Can I freeze hummus?
Ans: Yes, you can freeze it in airtight containers for up to 4 months. Must leave 1/2 inch headspace for expansion. Thaw overnight and stir well, adding olive oil or water if needed.
Q: Is hummus healthy?
Ans: Yes, very much healthy! It’s packed with 4g plant-based protein and 3g fiber per serving, plus healthy fats, vitamins and lot of minerals. As a Mediterranean diet staple, it supports heart health and provides sustained energy.
Q: Can I use dried chickpeas?
Ans: Yes you can, soak 1 cup dried chickpeas overnight, then cook with a pinch of baking soda until very tender (1-1.5 hours). But, freshly cooked chickpeas make incredibly creamy hummus.
Q: Can I make this Mediterranean Hummus in a blender?
Ans: Yes, a high-powered blender works great for hummus preparation. You might need to stop and scrape more often, and also add liquid earlier to help blending.
Final Thoughts on Authentic hummus recipe
Once you make hummus from scratch, it’s obviously hard to go again back to store-bought. The freshness, customizable flavor and incredible creaminess win every time. Plus, it takes just 10 minutes and costs a fraction of pre-made versions.
Keep these ingredients stocked and you’ll always be minutes away from a healthy snack, impressive party dip or quick Mediterranean-inspired meal.
Did you make this recipe? Leave a comment and rating below. I love hearing how it turned out.