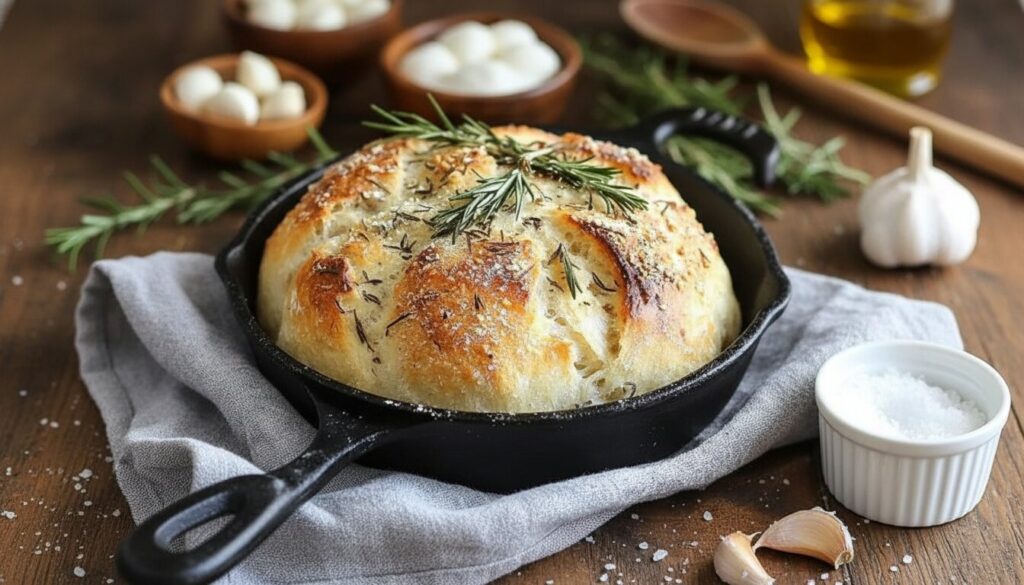
There is a specific kind of magic that happens when the scent of roasting garlic and earthy rosemary begins to drift from your oven. It’s the smell of a Tuscan farmhouse kitchen—warm, inviting, and deeply comforting. Imagine pulling a loaf from the oven with a golden crust crackling as it hits the cool air, revealing a soft, airy interior infused with Mediterranean herbs.
The best part? You don’t need to be a professional baker or own an expensive stand mixer to achieve these artisan results. This Rustic No Knead Rosemary Garlic Bread recipe is specifically designed for the stress-free cook. With zero kneading, minimal ingredients, and a “set it and forget it” fermentation process, it is the perfect entry point for beginners looking to master the art of Mediterranean-style bread.
Whether you are looking for a no knead rosemary bread to pair with a hearty stew or a rosemary garlic no knead bread to dip into high-quality olive oil, this guide will walk you through every step to ensure a bakery-quality loaf every single time.
Why You’ll Love This No Knead Rosemary Bread
If you’ve ever felt intimidated by yeast or the physical labor of kneading dough, this recipe is your solution. Here is why this easy no knead bread with herbs is about to become a staple in your kitchen:
- Zero Elbow Grease: The gluten develops naturally over time through a long fermentation process, meaning your hands stay clean and your muscles stay relaxed.
- Artisan Texture: Using a Dutch oven creates a steam-filled environment that produces that signature thin, crispy, “shatteringly” good crust.
- Aromatic Infusion: Unlike plain white bread, this loaf is packed with minced garlic and fresh rosemary, bringing a sophisticated flavor profile to every bite.
- Pantry Friendly: You likely already have the flour, salt, and yeast in your cupboard.
- The Perfect Side: This bread is the ultimate companion for Mediterranean meals, from Greek salads to roasted lamb.
Ingredients for Rosemary Garlic No Knead Bread
To achieve that authentic Mediterranean flair, quality matters. While the ingredients are simple, using fresh herbs makes a world of difference.
- All-Purpose Flour (or Bread Flour): 3 cups (approx. 400g). Bread flour will give you a slightly chewier “tug,” but all-purpose works beautifully for a lighter crumb.
- Active Dry Yeast: ½ teaspoon. We use a small amount because the long rise time does the heavy lifting.
- Fresh Rosemary: 2 tablespoons, finely chopped.Pro Tip: Use fresh rosemary for authentic Mediterranean flavor. Dried rosemary can be woody and lacks the essential oils that perfume the dough during baking.
- Garlic: 3–4 cloves, finely minced. Feel free to adjust based on your “garlic heart.”
- Sea Salt: 1 ½ teaspoons. Don’t skimp; salt is crucial for controlling the yeast and highlighting the rosemary.
- Warm Water: 1 ½ cups (roughly 100°F–110°F).
- Extra Virgin Olive Oil: 1 tablespoon (optional). Brushing this on the crust before baking adds a beautiful sheen and a peppery finish.
How to Make No Knead Bread (Step-by-Step)
Step 1 – Mix the Dough
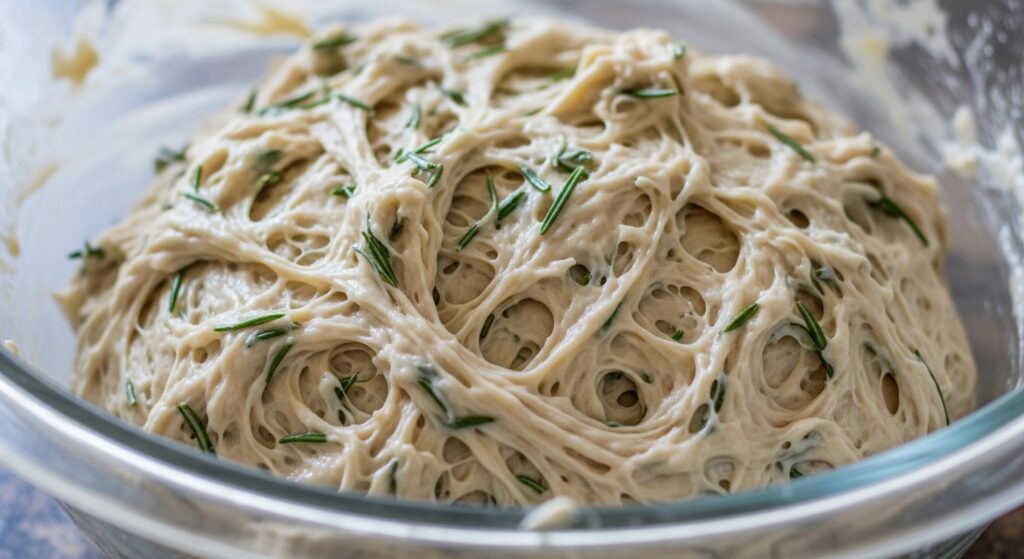
In a large glass bowl, whisk together your flour, yeast, salt, chopped rosemary, and minced garlic. Pour in the warm water and stir with a wooden spoon or spatula until a shaggy, sticky ball forms.
Note: A sticky dough is completely normal! Do not be tempted to add more flour. The high hydration is what creates those beautiful air pockets (the “crumb”) in the finished bread.
Step 2 – Let It Rise (The Long Fermentation)
Cover the bowl tightly with plastic wrap or a damp kitchen towel. Let it sit at room temperature (ideally 70°F) for 12–18 hours.
This is where the magic happens. This slow fermentation allows the yeast to eat the sugars in the flour, developing a complex, sourdough-like flavor and creating the gaseous bubbles that make the bread light.
Step 3 – Shape the Dough
After the rise, the dough should be doubled in size and covered in tiny bubbles. Flour your workspace generously. Gently fold the dough over itself a few times—do not press the air out! Shape it into a rough ball and let it rest on a piece of parchment paper for another 30–60 minutes while your oven heats.
Step 4 – The Dutch Oven Baking Method
Place a heavy Dutch oven (with the lid) into your oven and preheat to 450°F (230°C). Once hot, carefully lift the parchment paper with the dough and drop it into the pot.
- Bake covered for 30 minutes. This traps the moisture from the dough, creating steam that keeps the crust soft enough to expand.
- Bake uncovered for 15–20 minutes. This allows the sugars in the crust to caramelize into a deep, mahogany brown.
This no knead bread dutch oven recipe is the secret to getting that rustic no knead bread recipe look that usually requires a professional steam oven.
Pro Tips for Perfect Artisan Rosemary Bread
- Don’t over-handle the dough: Treat the bubbles like gold. The more you “deflate” the dough during shaping, the denser your bread will be.
- The Dutch Oven is King: If you want that artisan rosemary bread recipe result, a preheated cast iron or enameled pot is non-negotiable.
- Patience is a Virtue: Let the bread cool on a wire rack for at least 30 minutes before slicing. If you cut it too soon, the steam escapes and the interior can become gummy.

Ingredients
Method
- Mix: In a large bowl, combine flour, salt, yeast, rosemary, and garlic. Add water and stir until a sticky dough forms.
- Rise: Cover and let sit at room temperature for 12–18 hours.
- Preheat: Place a Dutch oven in the oven and preheat to 450°F.
- Shape: Transfer dough to floured parchment paper. Shape into a ball.
- Bake: Place dough (with parchment) into the hot Dutch oven. Cover and bake for 30 mins.
- Brown: Remove lid and bake for 15 more mins until golden brown.
- Cool: Cool on a wire rack before slicing.
Notes
- Flour Measurement: Always use the “spoon and level” method or a digital scale (400g). Scooping directly with a measuring cup packs the flour, leading to a dense, dry loaf.
- Water Temperature: Use lukewarm water. If it’s too hot to touch, it will kill the yeast; if it’s too cold, the dough won’t rise in the allotted time.
- Sticky is Good: Do not add extra flour during the initial mix. The high hydration (wetness) is what creates the “artisan” airy holes in the bread.
- The “Crackle” Test: To check for doneness, tap the bottom of the loaf; it should sound hollow. You can also use an instant-read thermometer to ensure the internal temperature is at least 205°F.
- Storage: Keep in a brown paper bag at room temperature to maintain the crust. Avoid plastic bags, which soften the crust and make the bread “sweat.”
- Reviving Stale Bread: If the bread gets hard, sprinkle the crust with a little water and pop it into a 350°F oven for 5–8 minutes to bring back the “just-baked” crunch.
Common Mistakes to Avoid (Why Did My No Knead Bread Fail?)
- Dough too dry: If you measure flour by “scooping” rather than leveling, you often use too much. A dry dough leads to a dense, brick-like loaf.
- Skipping the long rise: You cannot rush this recipe. If you only let it rise for 2 hours, the flavor will be flat and the texture will be tight.
- Using a Cold Dutch Oven: Putting dough into a cold pot prevents the “oven spring” (the initial burst of rising), resulting in a flat loaf.
- Cutting too early: Cutting hot bread effectively stops the cooking process prematurely.
Easy Variations
Once you master this no knead garlic bread recipe, try these Mediterranean twists:
- Garlic Parmesan: Add ½ cup of grated Parmesan cheese to the dry mix.
- Olive and Herb: Fold in ½ cup of chopped Kalamata olives during Step 3.
- Spicy Kick: Add 1 teaspoon of dried chili flakes for a Calabrian-inspired heat.
FAQ (Frequently Asked Questions)
Can I make no knead bread without a Dutch oven? Yes, you can use a heavy baking sheet with a pan of water on the rack below to create steam, though the crust will be slightly less “shattery.”
Why is my bread dense? Usually, this is due to old yeast or adding too much flour. Ensure your yeast is active (it should foam in water) and use the “spoon and level” method for flour.
Can I use dried rosemary? Yes, but use only 2 teaspoons as dried herbs are more concentrated.
Can I refrigerate the dough? Yes! You can leave the dough in the fridge for up to 3 days after the initial rise to develop even more flavor.